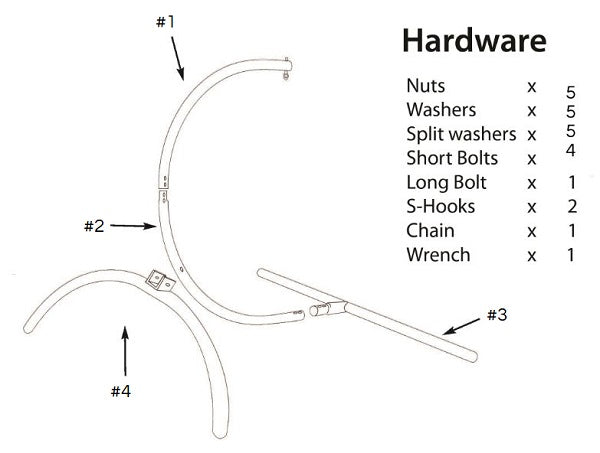
Misplaced your chair hammock stand instructions or need a little more detail for assembling your stand? No worries, we've got you covered with an online version with added photos for you here.
Curved Chair Hammock Stand Assembly Instructions
This hammock stand can be assembled by one person, but an extra pair of hands is always handy.
1. Open and remove all parts and hardware from the packaging, place in an open area with enough space; a minimum of 155cm x 135cm for the footprint and 215cm for the total height.
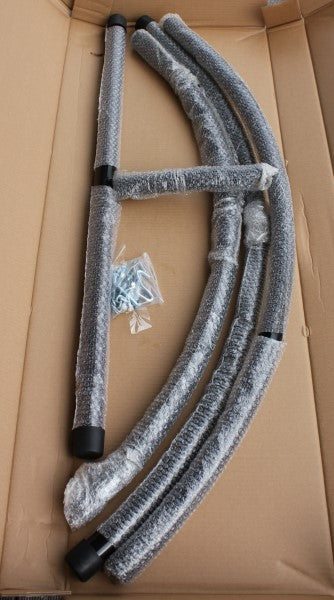
2. Insert the narrow end of the 'T' shaped piece (#3) into the wide end of the first curved piece (#2). This will have 5 holes in total, 2 at the bottom, one in the middle and two at the top. Use 2 of the shorter bolts and insert the bolts so the fixed head is sitting within the hex-shaped hole and fixed with flat washer, split washer, then hex nut (in that order).
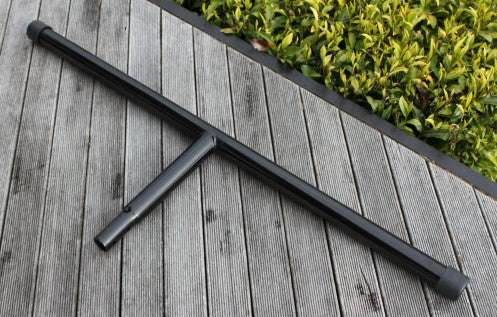
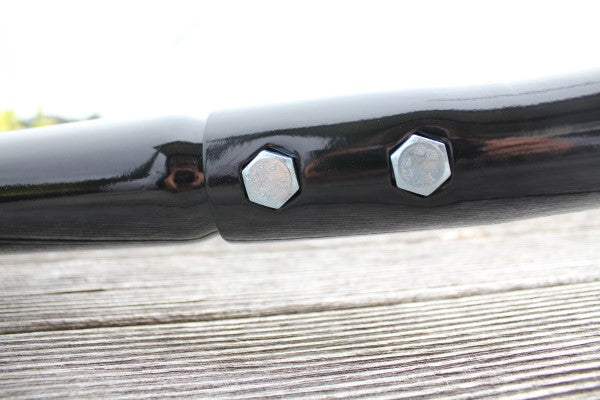
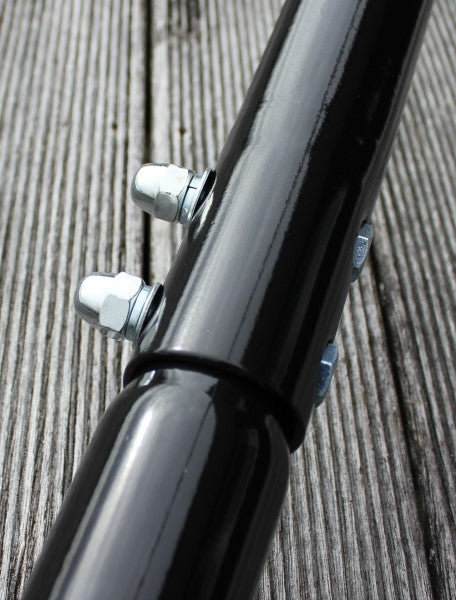
3. Connect leg section (the piece with bracket #4) to previously assembled parts using the single long bolt and washer, split washer and nut.

Your chair hammock stand will now look like the following image;
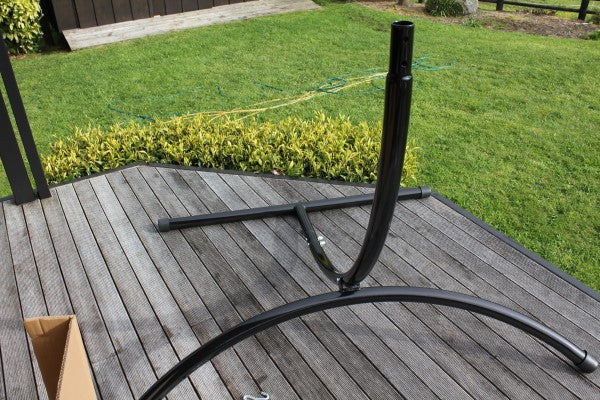
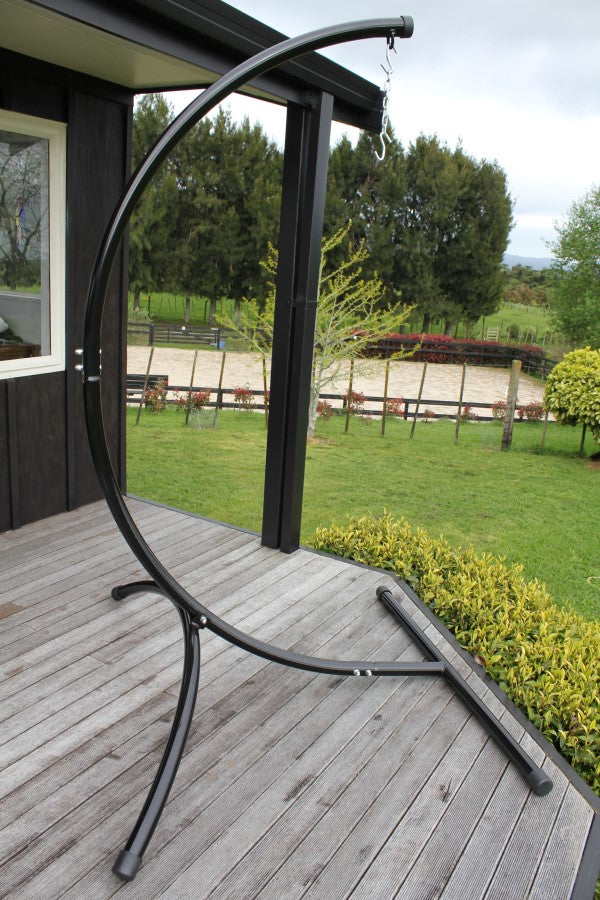
4. Attach final piece (#1) onto upright extending piece (#2). Fix as per previously with fixed bolt heads in hex-nut holes and using washer, split washer and nut. Ensure all bolts are firmly tightened and then using the supplied 's' hooks and chain attach your hammock chair or basket.
Your stand should now look like the below image and video.
Please note: this stand is not designed to be a swing. While gently swaying when in use is natural and fine, deliberate swinging forwards and sideways is not to be encouraged and can be dangerous. Children should always be supervised when using and instructed on how to use safely. Regular inspection of the stand to ensure safe use is recommended.
Feel free to contact us should you need any extra help or guidance. If you are looking for more product information or to purchase a chair hammock stand click on the following link; Curved chair hammock stand

